
Pulling Teeth! Tips to shorten & install metal zippers
Manufacturers use zippers in specific lengths for products they make and often in huge quantities. For crafters, zippers may only come in a limited size range and there may not be a zipper available in the exact same size as what you need. Knowing how to install and shorten zippers are important construction skills to acquire not to mention it will borden your design capabilities.
We offer several great-looking metal zipper options for used on garments, bags, purses, backpacks and upholstery. When it comes to choosing your metal zippers, you should always buy a zipper longer than you need and shorten it.

Materials you need:
1. Zipper
2. Zipper slider & stop set
3. Zipper teeth nippers
4. Jewelry Pliers
5. Measuring tape/ ruler
Direction of zipper slider:
Each zipper tooth has very small metal “arrows” that point either up or down. This is the direction that your zipper slider will move. So when you’re installing a zipper into a bag or any project, you’ll need to double-check the direction that these “arrows” are facing to make sure your project looks and operates the way you intended.

Shorten a closed bottom zipper:
1. Measure and mark the desired zipper length on the fabric and cut off excess.

2. Mark the beginning and end of the zipper.
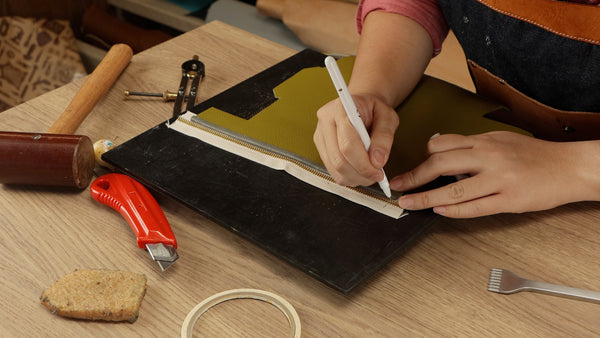
3. Use zipper teeth nipper to cut and pull each tooth. Remove the extra teeth. We recommend leaving at least 1.5cm (1/2") extra fabric length on the ends.

4. After removing the teeth, add new bottom and top stops with jewelry pliers.


Here is a quick video on shortening your zipper: