Tech Tip: Double Loop Lacing
Leather lacing is a way to join very thick leather by hand. Since leather comes in a variety thicknesses, sometimes projects like saddlery, holster, bags or sheaths require a leather that is too thick for sewing machines, or too heavy to pierce with a standard leather needle.

4 Basic Lacing Steps
1. Making holes: Lacing chisel or leather punch are used to create holes in leather. Depends on the width of the lace you're working with, you want to make the holes or slits wide enough that the lace can pass through but not wider than what is necessary.

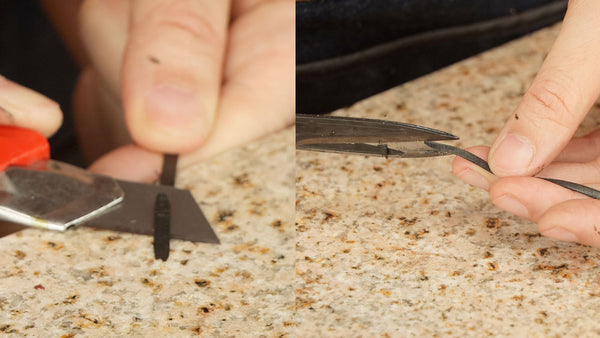
2. Threading the needle: The lacing needles are different than standard sewing needles. Lacing needles typically have 2 metal pieces very closely together and the tension of the steel holds the lace. To thread the needle, first skive the tip of your lace with a sharp knife and cut the tip to a point. Then open the needle with your fingernail and crimp the lace between the metal pieces.
3. Lacing: There are many lacing and lacing styles. Different lacing give different appearances and strengths. You'll cover a common lacing method, double loop lacing in this blog.

4. Finishing off the ends:
This is a critical step to ensure your lacing job is secured and last well during day to day use. Once the final lacing stitch has been made, loop the lace back in-between a few existing stitches, so it is barely visible and tie it off. We recommend matting down your lace with a mallet to get a nice flat appearance.

Double Loop Lacing
The double loop lacing is made by creating another loop of lace in the middle of an existing lace. It uses approximately 7 times more lace than the length of the project. For example, if your project measures 2 feet around laced part, you will need 14 feet of lace.Here is the step by step instruction on creating your double loop lacing:
Step 1: Beginning lacing on front side of project. Pull the needle and lace through the 1st hole, leave about 2cm or 3/4" of the lacing end and lace the next hole.

Step 2: Pull the stitch tight and lace over the end you left free. This forms a Cross pattern.

Step 3: Pull the stitch under the cross snug. Lace through the next hole.

Step 4: Follow the same process making a cross, once again go under the cross and pull the stitch snug.

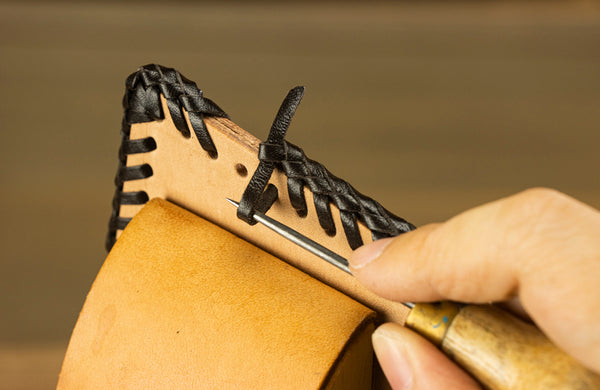
Step 5: When lacing a corner, stitch in the same hole three times to cover the corner. You can use a burnishing awl or lacing nipper to enlarge the hole to make sure there are enough space for lace to go through.

Step 6: Lace until only 12cm~15cm (5"~6") of lacing remain. You'll now have to splice with a new length of lace.

Step 7: Insert new lacing down between leathers few holes from lacing. Pull out back side. Leave 2cm (3/4") of lacing between leather.

Step 8: Take end of lace between leathers and continue lacing your project with the old lace.

Step 9: Pull the old lace up tight, cut off the end at an angle, allowing about 2cm (3/4") to remain. Attach needle to new lacing.

Step 10: Tuck the end of the old lacing between the leather and lace over it with the new lace.

Step 11: Continue lacing to start point. To tie off lacing, carefully pull end of beginning lace free of stitches using an awl.

Step 12: From back side, pull the end of lace out of the hole.

Step 13: From front side, pull end of lace out of the loop.
Step 14: Push tool down between leathers and hook it over the lace.

Step 15: Pull end of lace out of hole and up between leathers. Two empty holes should appear on the front side and on the back.

Step 16: Cut off the end of the lace you have pulled out and tuck the end of the lace between the leathers. Lace through the next hole.

Step 17: Pull stitch tight and lace up through loop from the back side. All holes on the back side should be filled.

Step 18: Lace under the cross, do not pull this stitch tight.

Step 19: Carefully cross over as shown and push needle down through the loop.

Step 20: Pull needle through. Push laced edge together to adjust and blend in the staring loop. Pull any slack out of the first loop and adjust lacing with fingers to make your stitches appear equal.

Step 21: Pull the end of the lacing down tight. Make sure all stitches appear to be equally spaced.

Step 22: Push needle through the last hole as shown. Bring it up between the leathers and out between the lacing. Cut off any excess lace.

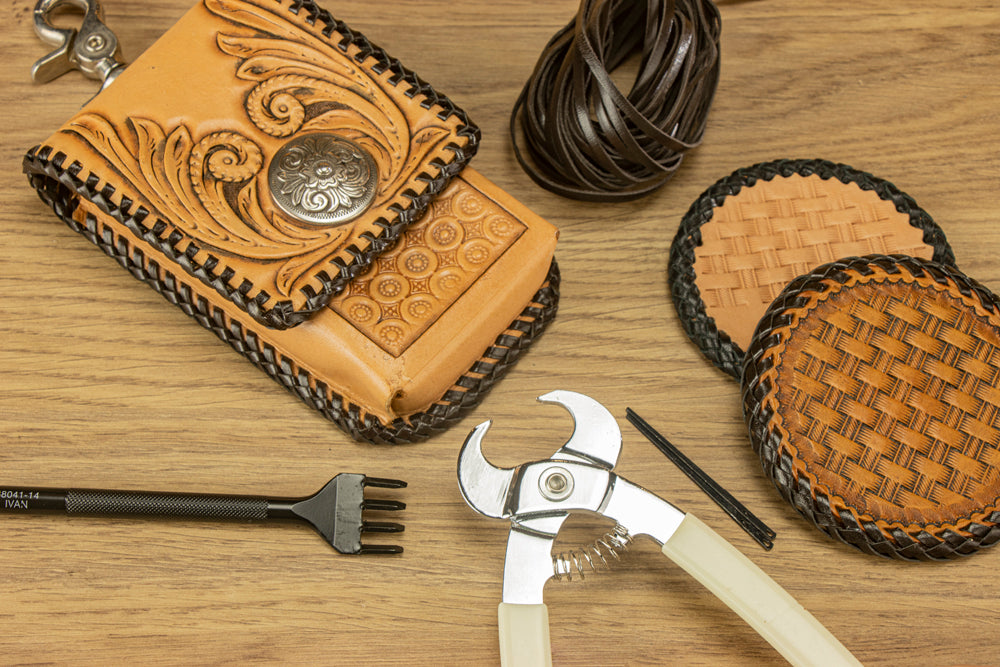
To lace leather, there are only a few leather lacing tools that are necessary including lacing chisel, lacing needle and leather lace. Find all the supplies and tools you need here: sewing & lacing, threads, lace & needles.