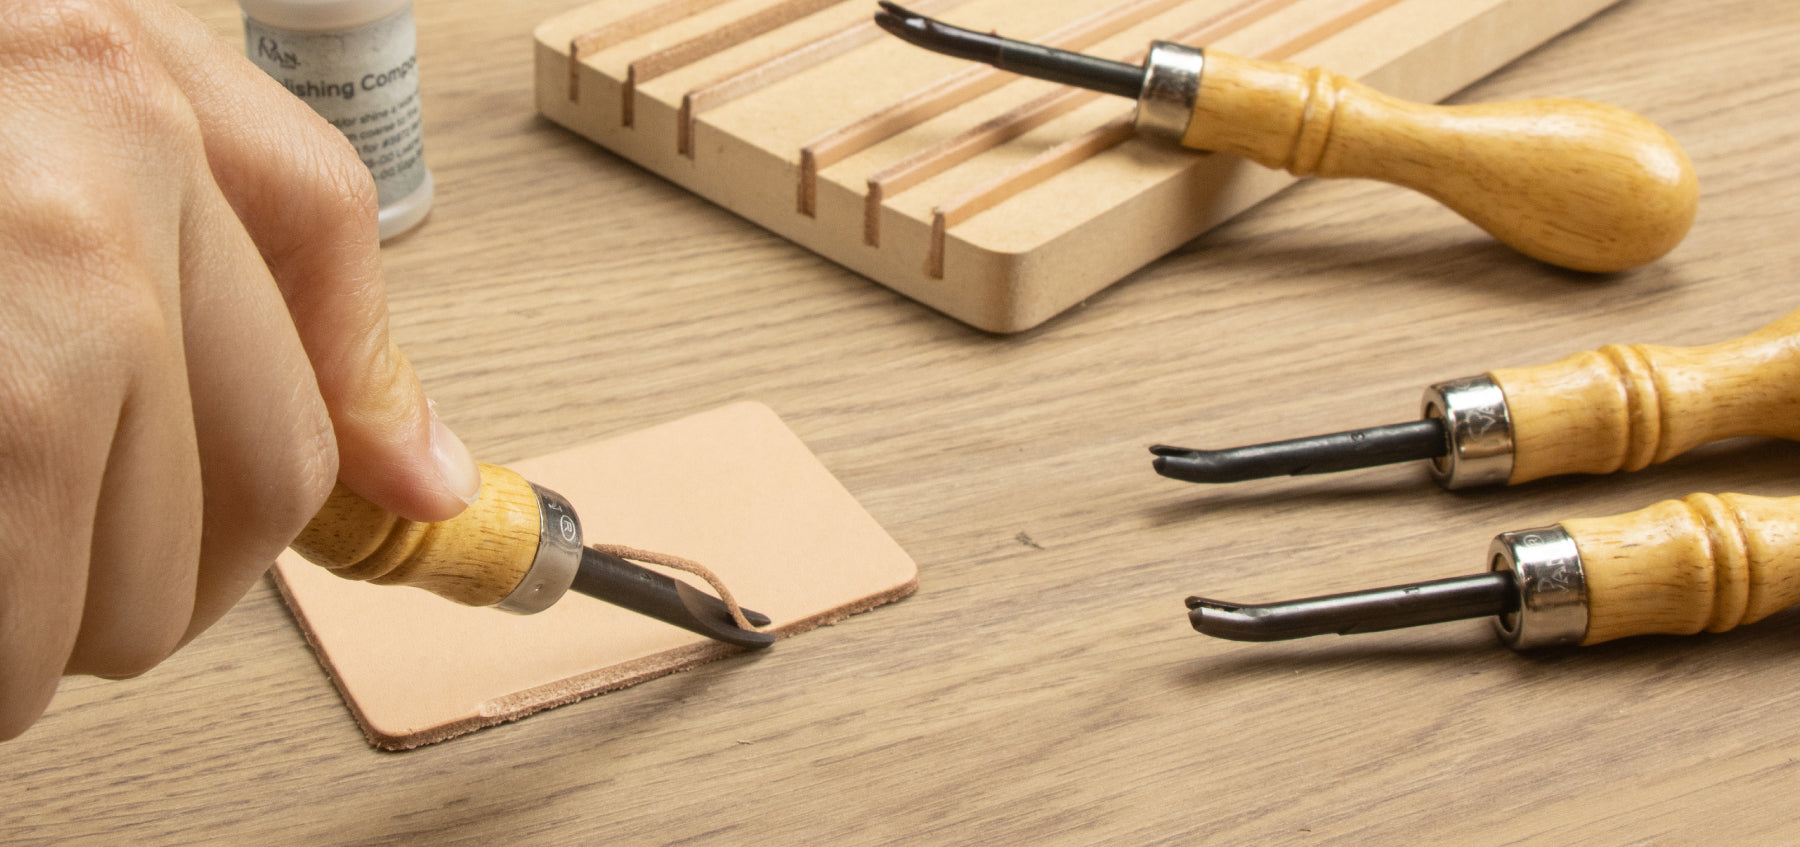
Tech Tip: Use & Care for Edge Bevelers
Any time when you are working with stiff veg-tanned or bridle leather, edge bevelers are used to remove that hard leather corners so you can finish edge with slicker or other finishes and get professional looking results. In this tech tip we'll go over two beveler designs we offer, what they are used for and how to sharpen them to maintain that razor sharp edge for every beveling job.

Each edge beveler corresponds with different weight of leather. We number our bevelers for easy identification. The larger the tool number indicates a wider cutting width of the bevel. We recommend getting different size bevelers for the scale of the project you work on the most.

#1: 1.5mm (1/16"): Ideal for using on 0.4mm~1.2mm (1-3oz) leather for projects like wallets, gussets, lining and other small leather goods.
#2: 2.5mm (3/32"): The most versatile size of edge bevelers, this can be used on leather 1.6mm~2.8mm (4-7oz). A great choice for bags, shoes, knife sheaths, apron and other medium-weight leather projects.
#3: 3mm (1/8"): The perfect choice to use on leather from 3.2mm~4.0mm (8-10oz) to make belts, saddlebags, bridle, dog collar, straps, holsters and other larger leather projects.
#4: 4mm (5/32"): Used on leather 4.0mm~5.2mm (10-13oz) to make heavy belts, straps, heavy horse halters, gun belts and more.
#5: 4.5mm (3/16"): Removes most material in a single pass. This is the perfect choice for 5.6mm~6.4mm (14-16oz) heavy-weight leather projects like safety belts, harnesses, saddle skirting, gun belts and machine belting.
8076 Series Edge Bevelers
These bevelers are flat and easy to sharpen. The straight cutting edge can be angled however you want along the edge. So keeping a steady angle is important to get that professional squared off result you are looking for.


8077 Series Keen Edge Bevelers
The keen edge beveler's round underside makes it easier to take just the corner off at the same angle every time. The curved cutting edge also means that you have to strop it with a rounded strop instead of flat leather strop you may already have in your shop.

Before you start
Before you bevel and burnish any edge, you want to make sure the edge is even and uniform. Hitting your edge with a sanding stick or sander a few times will do the trick.

Beveling
You'll notice as you sand the edge, the amount of pressure applied causes the edge to flare out. This will only get worst if you continue to burnish. This is where bevelers comes in real handy! They help to remove the excess material and prevent it from wrapping on itself. Working on a marble slab is a good way toprevent tools from cutting into work bench and dull your blade from accidental slips. If you are working with thin straps, to prevent your piece from moving, you can clamp a ruler or straight edge and bevel your strap against it to keep your strap from weaving all over the place.


Rest the groove of your beveler on the edge and apply even pressure as you pushes the beveler along. This will give you consistent cutting width all around. If you are working on a strap, bevel both front and back edges will give you a nice rounded profile to begin your burnishing or otherwise any edge finishing.
Strop your bevelers
Regularly strop your edge bevelers to maintain the sharpest edge for the best performance. Use leather strop or polishing strop to align the straight edge of your edge bevelers. We recommend our Edge Beveler Polishing Board to sharpen the Keen Edge Bevelers. The thin, narrow and wide leather strips works with all size bevelers. Simply apply polishing compound on your strop, place cutting edge on top and pull the blade towards you several times to align the micro-edge of your blade.


Once your edge is beveled, you are ready to move on to the next finishing steps. You can burnish the edge with gum tragacanth or apply edge coat using edge roller. To learn more about edge finishing, read our Tech Tip on "3 Ways to Edge Finishing". The list of tools used in this blog can be found here.
